First explanation
In Wicket a web page is a subclass of org.apache.wicket.WebPage. This subclass
have a corresponding HTML file. HTML file must have the same name which exist to page class in
the same package.
Again, let's see to HelloWorld.java and HelloWorld.html:
HelloWorld.java:
        import org.apache.wicket.markup.html.WebPage;
        import org.apache.wicket.markup.html.basic.Label;

        public class HelloWorld extends WebPage {
          public HelloWorld() {
            add(new Label("message", "Hello, World"));
          }
        }
HelloWorld.html:
<h1 wicket:id="message">[text goes here]</h1>
org.apache.wicket.markup.html.basic.Label is simple component. This inserts a string
(the second argument of constructor) inside the corresponding HTML tag. Label needs a id
('message' in example). It must have a special attribute called wicket:id when insert
the second argument of Label into HTML tag and its value must be identical to the component
id.
Wicket link
Wicket implements links with org.apache.wicket.markup.html.link.Link component.
When you want to navigate to another page, you must use setResponsePage method of
Component class. But this only add link, not do click action. If you want to do click
action, you should use an abstract method onClick inside the link class.
The following code is example of link in Wicket (ClickLink.java and .html):
ClickLink.java
        import org.apache.wicket.markup.html.WebPage;
        import org.apache.wicket.markup.html.link.Link;

        public class ClickLink extends WebPage {
          private int count = 0;

          public ClickLink() {
            add(new Link("anotherLink") {
              @Override public void onClick() {
                AfterClickPage clickPage = new AfterClickPage();  // see AfterClickPage.java which later introduce
                setResponsePage(clickPage);

                // or example ↓
                // setResponsePage(AfterClickPage.class);
              }
            });
          }
        }
ClickLink.html
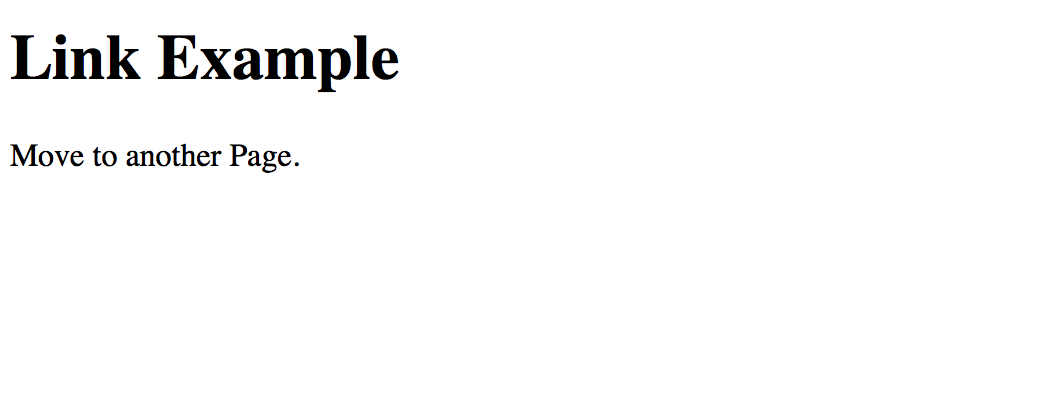
        <h1>Link Example</h1>

        <p wicket:id="anotherLink">Meve to another Page</p>.
But, this only add link and click action, the transition destination class not implements in
setResponsePage. So, you must create class of the transition destination. The
following example is another page class and html (AfterClickPage.java and
AfterClickPage.html):
AfterClickPage.java
        import org.apache.wicket.markup.html.WebPage;

        public class AfterClickPage extends WebPage {
          public AfterClickPage() {}  // empty
        }
AfterClickPage.html
<h1>Year!!! OK!!!</h1>
result:

Click sentence that Move to another Page ↓

Panel
There is reusable components to one of great ability of Wicket. If you want to use
a custom component, you must use org.apache.wicket.markup.html.panel.Panel.
Panel class is special component. Panel uses a special tag, it's
<wicket:panel>. This tag demarcate the specific border
of the panel's markup. The following Wicket Panel (header, content, footer):
header panel
        <wicket:panel>
          <div>
            <h1>Header</h1>
          </div>
        </wicket:panel>
        import org.apache.wicket.markup.html.panel.Panel;

        public class HeaderPanel extends Panel {
          public HeaderPanel(String id) {
            super(id);
          }
        }
This java class is same sentence also in content and footer, it only just changed class name.
content panel
        <body>
          <wicket:panel>
            <article>
              <div>
                <h1>Content</h1>

                <p>Here is content.</p>
              </div>
            </article>
          </wicket:panel>
        </body>
footer panel
        <body>
          <wicket:panel>
            <div>fufufufufufufufufufufufu.......</div>
          </wicket:panel>
        </body>
To use their panels, you implements the following class and html (Panels.java
and .html):
        import org.apache.wicket.markup.html.WebPage;

        public class Panels extends WebPage {
          public Panels() {
            add(new HeaderPanel("headerPanel"));
            add(new MenuPanel("menuPanel"));
            add(new FooterPanel("footerPanel"));
          }
        }
        <head>
          <style>
            body, div {
              margin: 0;
              padding: 0;
            }

            header {
              width: 100%;
              text-align: center;
              background-color: #11ff11;
            }

            h1, p {
              margin: 0;
              padding: 1%;
            }

            article {
              background-color: #304aa0;
            }

            footer {
              width: 100%;
              background-color: #ff00ff;
            }
          </style>
        </head>

        <body>
          <header wicket:id="headerPanel">header</header>

          <div wicket:id="menuPanel">menu</div>

          <footer wicket:id="footerPanel">footer</footer>
        </body>
result:

This code of HTML file is the following:
        <header wicket:id="headerPanel"><wicket:panel>
          <div>
            <h1>Header</h1>
          </div>
        </wicket:panel></header>

        <div wicket:id="menuPanel"><wicket:panel>
          <article>
            <div>
              <h1>Content</h1>

              <p>
                Here is content.
              </p>
            </div>
          </article>
        </wicket:panel></div>

        <footer wicket:id="footerPanel"><wicket:panel>
          <div>fufufufufufufufufufufufu.......</div>
        </wicket:panel></footer>
Seeing this example, the Panel ID creating in Panels.java is inserted
into wicket:id.
Markup inheritance by <wicket:extend> and <wicket:child>
What is markup inheritance?
Markup inheritance is that markup containers can inherit the markup of super containers like extend class in Java. This is using two special Wicket tags: wicket:child and wicket:extend.
Using <wicket:extend> and <wicket:child>
<wicket:child> is used inside the parent's markup. This is children pages/panel can inject custom markup extending the markup inherited from parent component. The following is parent page if you write code:
        <p>This is parent page!</p>
        <wicket:child/>  <!-- ← Child page/panel inside <wicket:extend> is inserted here. -->
<wicket:extend> place child page/panel. This can insert to <wicket:child> like extended Java class. The following is example of child page:
        <wicket:extend>
          <p>This is child page!!!!</p>
        </wicket:extend>
How do you use this feature? It's, for example, when switching page. This example is explained in Wicket tutorial. In this tutorial is create two Page class/html and Base class/html. There is <wicket:child> in Base class, and <wicket:extend> in both Page class. Both Page class inherit Base class. After, write code in Base class...
Modifinng tag attributes
To modify tag attributes, you use org.apache.wicket.AttributeModifier class. This class
can add to any component via the Component's add method.
        Label label = new Label("id", "str");  // Label
        label.add(new AttributeModifier("style", "color:#ae1133; font-size:13px;"));
If the first argument of AttributeModifier class exist, then you should use
org.apache.wicket.behavior.AttributeAppender.
label.add(new AttributeAppender("style", "border:solid 3px #883f93;"));
We also can modify using factory methods of AttributeModifier:
        label.add(AttributeModifier.replace("style", "color:blue; padding:4px;"));  //replace

        label.add(AttributeModifier.append("style", "color:blue; padding:4px;"));  // append

        label.add(AttributeModifier.prepend("style", "color:blue; padding:4px;"));  // prepend
- replace:
- Replace to attribute.
- append:
-
Append to attribute. This equal to
label.add(new AttributeAppender("style", "color:blue; padding:4px;")); - prepend:
- Prepend to attribute. This method add the previous attribute after enter blank behind added attribute.
Handling id attribute of HTML
In Wicket can choice whether or use not id attribute of HTML. It can manage
for setOutputMarkupId. This method can use id attribute if
setOutputMarkupId is true. On this case, can set id
in setMarkupId, and get id in getMarkupId.
